Discord server template: Build a Profitable Community
A Discord server template is essentially a reusable blueprint. It copies your server's entire structure—channels, roles, and permissions—letting you spin up a perfectly organised new community in seconds. Think of it as the ultimate shortcut to launching a professional server without having to start from a blank slate every single time.
Why Your Community Needs a Strategic Template
Viewing a template as just a setup file is a massive missed opportunity. A well-designed Discord server template is the strategic foundation for a scalable, professional, and ultimately profitable online community. It's less about saving a bit of time and more about engineering success from the very first click.
A thoughtfully built template completely transforms the member experience right from day one. It creates clear navigation, guarantees a consistent and impressive onboarding process, and drastically cuts down on your manual admin work. Instead of you fumbling with settings while new members are waiting, they step into a polished, intuitive space immediately.
From Simple File to Growth Engine
Let's look at a real-world scenario. A mastermind group could use a pre-built template to instantly grant paying members access to exclusive content channels, resource libraries, and private voice chats. The moment a member subscribes, they're in. No manual role assignment needed. This seamless access immediately reinforces the value of their purchase.
Similarly, a gaming community template can auto-assign roles based on interests, sparking engagement right away. New members can select their preferred games and instantly see the relevant channels, connecting them with like-minded players much faster.
A great template doesn't just organise your server; it guides your members. It anticipates their needs, directs them towards valuable content, and makes the journey from newcomer to loyal advocate feel effortless.
Building for a Global Audience
The need for structured templates is growing, and it's a global thing. Discord has seen incredible growth, swelling to around 656 million registered users. While the United States is still the leader, Europe makes up about 25% of Discord’s traffic, with France playing a major part in that. Its popularity there has surged, leading to the creation of countless localised Discord server templates for French-speaking communities. It just goes to show the universal demand for well-organised servers.
Discord's own official guide shows just how they position templates as a key feature for building communities.
The screenshot really highlights that a template captures the core structure—the channels, topics, roles, and permissions. This is the very skeleton of your community's experience. It also intelligently leaves out messages and members, which means you can share your structure without sharing any private data.
Designing Your Monetisation Blueprint
Building a paid community that thrives doesn't start with sending invites. It begins with the blueprint. The absolute core of a monetised server is a carefully planned structure of channels and roles that naturally shows members the value you're offering. Think of it as mapping out the entire member journey, from a curious visitor right through to a premium subscriber.
A huge mistake I see is overwhelming new members. Landing in a chaotic list of 50 channels is an instant turn-off. The solution? Use categories to create a clear divide between your public, "shop window" areas and the exclusive, paid-only zones.
This simple idea—a solid foundation leading to a better member experience, which in turn fuels growth—is everything.
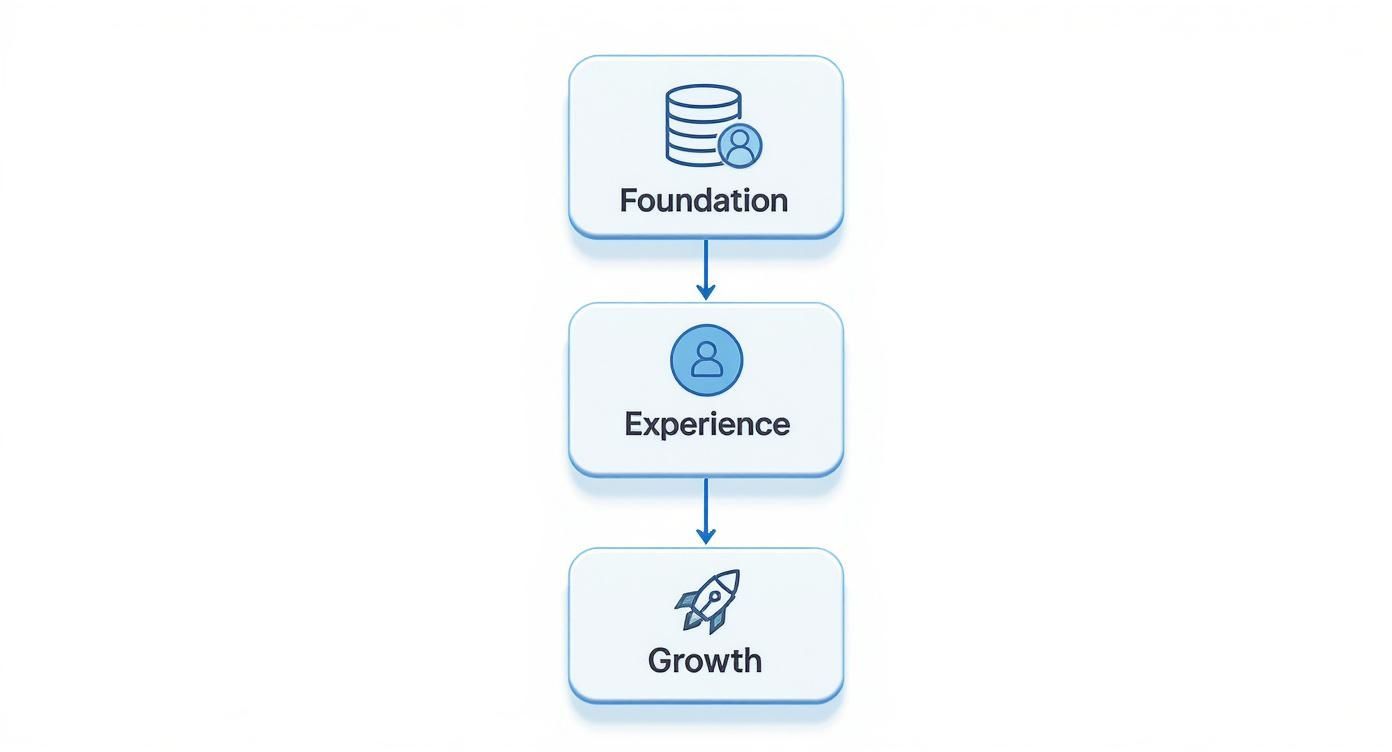
Growth isn't an accident. It's a direct result of designing a foundation that makes joining and participating both seamless and valuable.
Building Your Channel and Category Framework
First things first, let's get those channels organised into intuitive categories. This isn't just about making the sidebar look tidy; it makes managing permissions a thousand times easier. Put yourself in a new member's shoes.
- Public Zone: This is your digital lobby, what everyone sees when they first arrive.
#rules-and-info: Non-negotiable. Every server needs clear guidelines.#announcements: Your megaphone for server-wide updates.#how-to-join: This is crucial. It’s where you sell the dream, explaining the perks of your paid tiers and linking straight to your subscription page.
- Premium Tiers: These categories are invisible to non-subscribers, creating that feeling of exclusivity.
PREMIUM CHAT: A category just for general chit-chat among paying members.EXCLUSIVE CONTENT: This is where you house your high-value stuff—think guides, video libraries, or special toolkits.LIVE EVENTS: Channels dedicated to members-only Q&As, workshops, or private streams.
This clean separation means free visitors see exactly what they need to—the value proposition—while your paying members get a focused experience, free from the clutter of onboarding channels.
A well-structured channel list does more than just look tidy—it communicates value. When potential subscribers can clearly see what's locked behind a paywall, it creates a powerful incentive to upgrade.
Nailing this structure from the start is what makes access automation a breeze later on. The clearer your setup, the easier it is to plug in tools that handle payments and role assignments for you. For a deeper look at pricing and structuring your offerings, our guide on community monetisation models is a great next step.
Architecting Tiered Roles and Permissions
With your channels mapped out, the next layer is creating the roles that grant access to them. A tiered structure is the go-to model for paid communities, and for good reason. It lets you offer different levels of value at different price points.
Here’s a look at what a tiered structure might look like in practice.
Sample Role & Channel Architecture for a Paid Community
| Role Name | Access Level | Accessible Channels | Purpose |
|---|---|---|---|
| @everyone | Public | #rules-info, #announcements, #how-to-join | Gives prospective members a taste of the community and clear instructions on how to upgrade. |
| Tier 1 - "Supporter" | Entry-Level Paid | Public channels + #supporter-chat, #monthly-qa | Your base-level subscription. Offers core community access beyond the free areas. |
| Tier 2 - "VIP" | Premium Paid | All Supporter channels + #vip-lounge, #exclusive-content, #office-hours | Your top-tier offering. Provides access to all content, including the most high-value resources and events. |
As you can see, the setup is logical and builds upon itself.
When setting up permissions, always start at the category level. By syncing channel permissions to their parent category, you save an incredible amount of time. The process is simple: deny @everyone the ability to view your premium categories, then grant access specifically to your paid roles.
A key principle here is permission inheritance. The "VIP" role should have all the permissions of the "Supporter" role, plus access to the top-tier channels. This ensures a seamless upgrade experience and simplifies your backend management.
This blueprint—your unique mix of channels and tiered roles—is the very backbone of your monetisation strategy. It defines what you're selling and makes sure you can deliver that value flawlessly.
Alright, you’ve mapped out the structure of your monetised community. Now it's time to bring that blueprint to life with rock-solid permissions and an onboarding flow that feels effortless for new members. This is where the magic happens, turning your plans into a functional, welcoming space for your subscribers.
Let's get into the nitty-gritty of Discord's permission system. We'll set up roles that not only protect your premium content but also make new arrivals feel like they've come to the right place.
The journey starts the second someone joins your server. Your goal is simple: guide them, don't overwhelm them. The best way I've found to do this is with a dedicated welcome area where everyone first lands. Keep this space clean and focused on one thing: getting people verified and oriented.
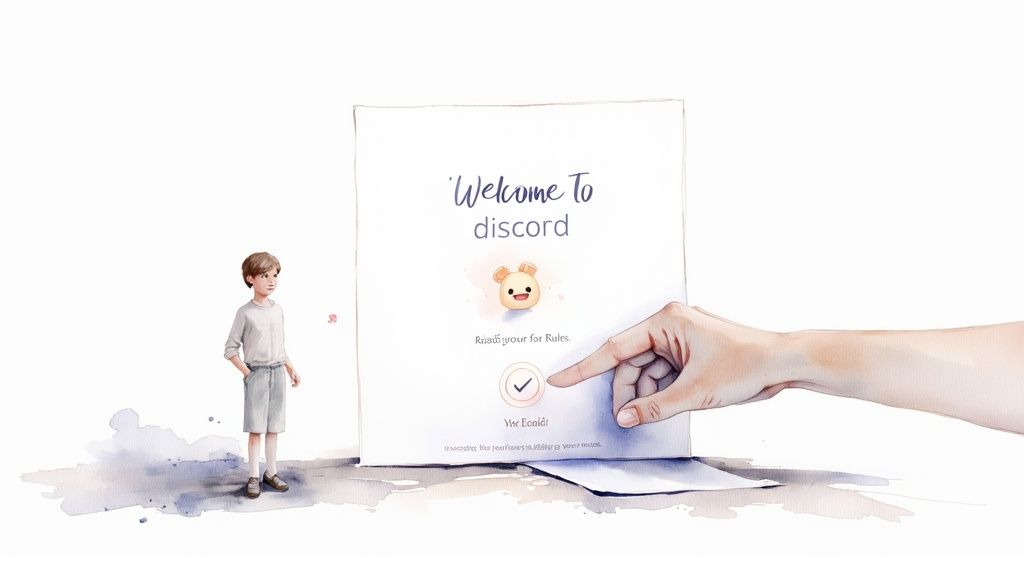
This welcome screen is their first impression. A clear, guided entry tells them your community is well-managed and professional from the get-go.
Creating a Secure Welcome Gate
First things first, you need a verification gate. This isn’t about being exclusive; it’s about shielding your community from a flood of spam bots and making sure every single member has seen your server's rules. A fantastic and popular way to do this is with a reaction role bot like MEE6 or Carl-bot .
The flow is simple but incredibly powerful:
- Lock Down Initial Access: Tweak the default @everyone role so new members can only see your welcome and rules channels. The rest of the server should be invisible to them for now.
- Set Up the Reaction Role: In your
#rules-and-infochannel, post your community guidelines. At the bottom, ask new members to react with an emoji (a classic ✅ works great) to show they've read and agree to everything. - Automate the Role: Set up your bot to instantly give a basic "Verified Member" role to anyone who clicks that emoji. This new role is the key that unlocks the rest of your public server channels.
This simple process acts as an effective filter. It keeps your community clean and gets a baseline level of buy-in from every new person before they even type a single message.
An automated verification gate does more than just stop bots. It establishes a culture of accountability from the very beginning, subtly communicating that your community standards are important and must be respected.
This first interaction really sets the tone. By making it a smooth, automated step, you're showing efficiency and care—two qualities that paying members definitely appreciate. A messy or confusing entry is a surefire way to lose potential subscribers before they even see what you're offering.
Crafting a Smooth Onboarding Experience
Once someone is verified, your next job is to point them straight to the value. Don't just throw them into a general chat and hope they figure it out. A dedicated onboarding channel or a slick, automated welcome message is absolutely essential for a professional Discord server template.
This onboarding sequence should hit a few key goals, and fast:
- Explain the Layout: Give them a quick tour. Something like, "Check out
#introductionsto say hello, and find all our main discussions under theCommunity Chatcategory!" - Highlight Paid Benefits: Now's your chance to upsell. Clearly and concisely show them what they're missing out on. Use a bulleted list to spell out the perks of your premium tiers.
- Provide a Clear Call-to-Action: This is the most important part. Guide them to your subscription page. An automated message could say, "Ready to unlock exclusive content and join our private Q&A sessions? Become a VIP member here!" with a direct link to your payment page.
Think of it as a mini-tour that doubles as a friendly sales pitch. It’s automated, it's efficient, and it makes sure every single member understands what you offer and exactly how to get it. This makes the decision to upgrade feel like a natural next step, not a hard sell, creating a process that feels both professional and secure.
Automating Your Member Experience
Automation is the secret weapon for scaling a paid community without burning yourself out. It’s what turns your server from a time-sucking hobby into a proper, sustainable business. By using bots and webhooks, you can put repetitive tasks on autopilot, give your member engagement a serious boost, and make sure everything runs professionally, 24/7.
This isn't just about kicking out spammers. It's about building smart systems that welcome new members, nudge them towards your paid content, and keep the conversation flowing—all with you doing the bare minimum. A well-automated Discord server template is an asset that practically manages itself.
Essential Bots for a Thriving Community
First things first, let's talk about your core team. Every monetised server needs a few key bots to handle the day-to-day grind. Think of them as your tireless, automated community managers.
- Moderation Bots: Tools like MEE6 or Dyno are non-negotiable for keeping your community safe. They can automatically filter out spam, warn or boot users who break the rules, and generally keep the vibe positive.
- Welcome & Role Bots: As we touched on earlier, these are critical for a smooth first impression. They greet new members and handle reaction roles, letting users pick their own interests or verify themselves. It's a fantastic little trick to get them clicking around right away.
- Announcement Bots: Sure, you can post announcements yourself, but a dedicated bot can be set to post on a schedule or push messages to multiple channels at once. This makes sure your most important updates never get buried.
The sheer scale of bots on Discord is massive. There are over 12 million active bots globally, and they're responsible for about 28% of all messages sent on the entire platform. Many French server templates, for instance, come pre-loaded with bots designed for Francophone users, automating everything from moderation to event planning. You can dig into more stats about the global impact of Discord bots and automation here .
Crafting Automated Welcome Sequences
A generic "Welcome to the server!" is such a wasted opportunity. Your welcome sequence should be a lean, mean, conversion machine. With the right bot, you can set up a custom direct message (DM) that fires off the second a new person joins.
Picture this: a user joins, and before they can even blink, they get a personalised DM.
"Hey there, and welcome to the community! We're thrilled to have you. Before you jump in, check out our #rules channel. If you're ready to unlock exclusive content, live Q&As, and our full resource library, you can upgrade to our VIP tier right here: [Your Payment Link]." This simple, automated message nails three things at once: it gives a warm welcome, points them to the rules, and hits them with a clear, immediate call-to-action to subscribe. Just like that, every new member becomes a warm lead without you lifting a finger. This is a must-have for any effective monetised Discord server template.
Advanced Automation with Webhooks
Once you've got your bots dialled in, webhooks are the next level. A webhook is basically a special URL that lets different apps talk to each other. For Discord, it means you can have other services send automated messages straight into a specific channel.
The possibilities here are huge and incredibly handy for keeping your server feeling alive with fresh content.
- YouTube Notifications: Set up a webhook so that every time you upload a new YouTube video, a notification automatically pops up in your
#announcementschannel. - Blog Post Updates: You can connect your blog’s RSS feed to post a summary and a link whenever you publish a new article.
- Social Media Alerts: Funnel your latest tweets or Instagram posts into a dedicated
#social-feedchannel to keep everyone in the loop.
For example, using a tool like Make.com, you can build a simple workflow that just watches your blog. The moment a new post is detected, it can automatically shorten the URL and push a perfectly formatted message into your Discord. This keeps your community in the know and drives traffic back to your content, creating a brilliant, self-sustaining engagement loop that runs on its own.
Creating and Sharing Your Server Template
Once you've meticulously organised your channels, fine-tuned your roles, and automated the key onboarding bits, your server is ready to be immortalised. It's time to capture its entire structure as a reusable, shareable Discord server template. The good news? This process is surprisingly simple and built right into Discord's native settings.
Before diving in, there's one small catch: you must either be the server owner or have a role with the ‘Manage Server’ permission enabled. Without that, the option to create a template simply won't appear. Assuming you've got the keys to the kingdom, the whole process kicks off in your Server Settings menu.
Generating Your Template Link
First thing's first, head over to your server's settings. In there, you'll spot a dedicated "Server Template" section. Discord will prompt you for a title and a quick description for your template. Don't rush this part! A good, descriptive title like "Pro Trading Community Template" and a description explaining the tiered roles will help others (and your future self) understand its purpose at a glance.
After you've filled that in, a single click on the "Generate Template" button does all the heavy lifting. Just like that, Discord creates a unique, shareable link. This link is your golden ticket—anyone who clicks it will be prompted to create a brand-new server using your exact structure.
Think of this generated link as a perfect, static blueprint of your server at that exact moment. It captures the framework—the very bones of your community—letting you replicate it infinitely without ever sharing private member data or messages.
What Gets Saved (and What Gets Left Behind)
It's really important to understand what your Discord server template actually includes. This isn't a full backup of your server; think of it more as a structural clone.
Your template will faithfully copy over:
- Channels and Categories: Your entire channel list, including their names, topics, and how they're organised into categories, is perfectly preserved.
- Roles and Permissions: All the roles you’ve created, along with their specific permissions for every single channel, are included.
- Default Server Settings: Core settings like the server name, icon, and default notification preferences also come along for the ride.
However, some things are intentionally left out to protect privacy and ensure a fresh start for any new server. The template will not save:
- Messages and conversation history.
- Existing members or any of their data.
- Server boosts and their associated perks.
- Bots and their specific configurations.
That last point is a big one. While the roles for your bots will be saved, you will need to manually invite the actual bots to any new server created from the template. It's a clean slate, giving you the structure but requiring you to add the functional parts back in yourself.
So, before you generate that final link, it's a smart move to do a quick clean-up. Get rid of any test channels or temporary roles to make sure your template is polished, professional, and ready for action.
Automating Paid Access for Your Community
A perfectly designed Discord server template is a fantastic start, but let's be honest—it’s the automated paid access that truly makes your monetisation strategy sing. This is what connects your beautifully structured server to the world of payments, creating a hands-off system that runs like a well-oiled machine, 24/7.
This is exactly where a payment and access management tool like Join My Thread becomes your best friend. These platforms are the essential bridge linking your Stripe account directly to your Discord server. They handle all the heavy lifting, creating a smooth and secure payment experience for your members while taking all the manual admin off your plate.
The best part? The whole thing is designed for simplicity. You can get your payment processor and Discord server connected in just a few clicks, which is the key to building a paid community that can actually scale without you burning out.
Connecting Payments to Roles
The setup itself is refreshingly straightforward. First, you'll connect your Discord account and pick the server you want to monetise. From there, you just need to map your subscription tiers—the actual products you’re selling—directly to the specific Discord roles you already built into your template.
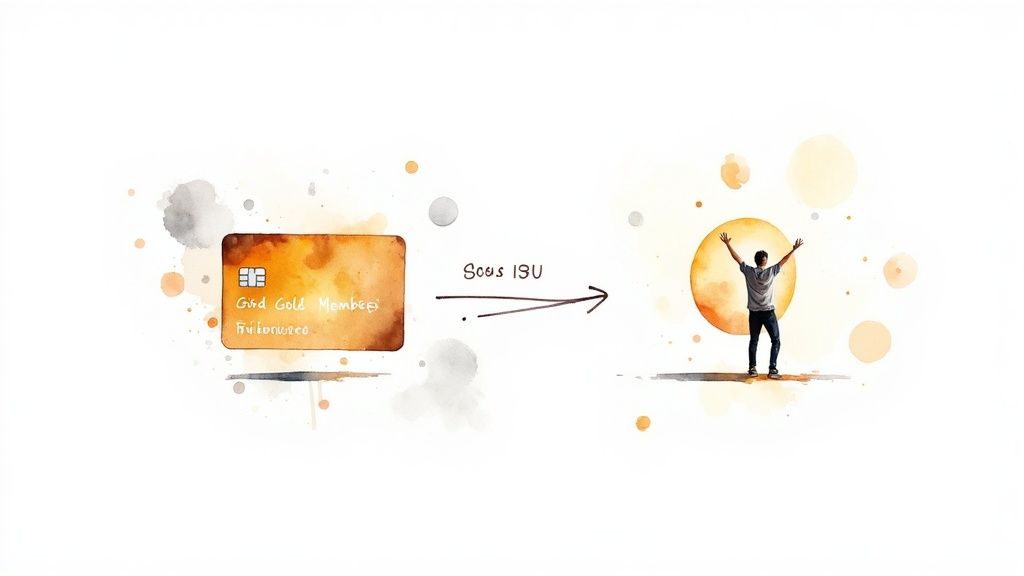
This mapping is where the magic really happens. Think of it like this:
- Someone's Action: A new member subscribes to your 'Gold Tier' plan.
- The Automated Result: The system instantly assigns them the 'Gold Member' role in your Discord.
That single action automatically unlocks all the private channels you've set up for that role, giving them immediate access to the value they just paid for. No waiting around. No need for you to manually check payment notifications and assign roles at 2 AM.
Automation ensures your members get what they paid for the moment they pay for it. That immediate delivery of value is absolutely critical for member satisfaction and retention, making your community feel professional and well-managed from their very first interaction.
Handling Cancellations Automatically
Just as important is what happens when someone leaves. A solid automation system handles the offboarding process just as gracefully, with zero intervention from you.
When a member cancels their subscription or a payment fails, the platform automatically revokes their paid role.
This instantly removes their access to any exclusive, premium channels, bumping them back down to a standard member role. It’s a simple, effective way to ensure your private content stays secure and accessible only to active, paying subscribers. It creates a reliable, hands-off system that frees you up to focus on what you do best: creating great content and engaging with your community, not chasing down payments and fiddling with permissions.
A Few Common Questions About Discord Templates
When you're building a professional, monetised community, a few questions about Discord server templates always pop up. Getting these details right from the start can save you a world of headaches down the road.
What if I Update My Server? Does the Template Update Too?
This is a big one. The short answer is no. A generated Discord server template link is a static snapshot of your server at the moment you created it.
If you add new channels, tweak roles, or adjust permissions, those changes will not automatically sync with your existing template link. To capture your new and improved setup, you'll need to head back into your Server Settings and generate a brand-new link.
A little tip from experience: it’s a smart move to name or date your saved template links. That way, you always know which one is the most current version and avoid accidentally sharing an outdated one.
What Happens to My Bots When Someone Uses the Template?
This is a key point that often catches people by surprise. The bots themselves are not copied over when someone uses your template. A template only saves the roles and channel permissions you've set up for those bots, but not the actual bot integrations.
This means the new server owner will have to manually invite all the necessary bots again. After that, they’ll need to reconfigure them to work correctly in their new space. Think of it this way: the template provides the structural framework, but the functional bots have to be added separately.
Do Discord Server Template Links Expire or Have Limits?
Nope! A standard Discord server template link you generate through your settings does not expire and has no usage limits. You can share that link far and wide, and an unlimited number of people can use it to clone your server's structure.
This makes a template link an incredibly powerful and scalable resource. It's perfect for distributing a standardised setup to a large audience or for quickly spinning up multiple new servers with the same professional foundation.
Ready to build and monetise your own thriving community? Join My Thread provides the essential tools to automate payments and member access for your Discord server, effortlessly. Start building your paid community today .